Creating a chat component with svelte
1 OCT // 2022
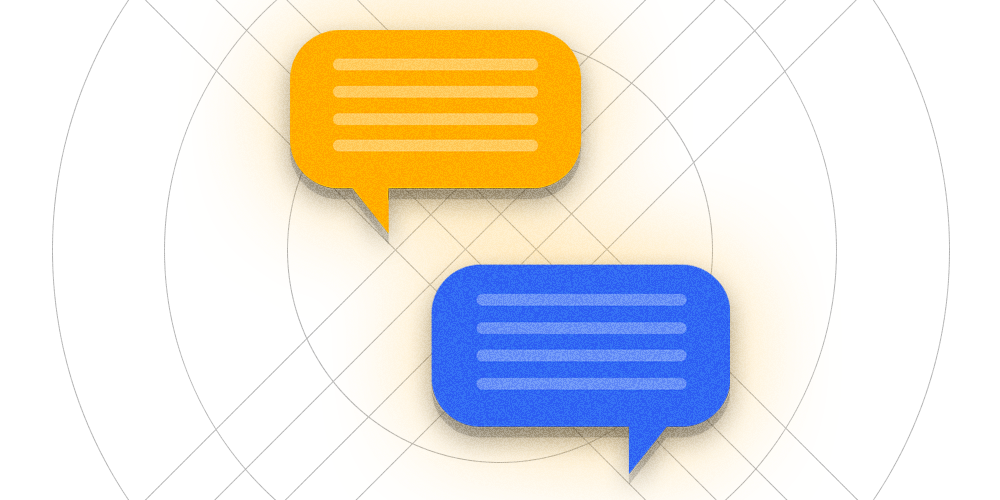
Frontend with Svelte?
In this article we're going to create a simple chatbox, using Svelte. The design is based on similar chat services, such as Facebook Messenger or WhatsApp. At this point the entire chatbox is local, so no data is going in or out. Below is an image of the finished result:

Image: A chat windows created with Svelte components
Use the 'Username' field to choose a username. It's value is taken as is, so when you pick a name, you will have that identity. This means it's possible to pick an existing user. Whenever you change the current user, the styling of the chatwindow will update, showing which messages are your own. Underneath there is space to type a message, and a button to send the message.
Getting started
Let's start by creating a container div in our main component file (chatbox.svelte). This will be a full page-width div to contain our actual chatbox. Next up, add our actual chatbox div. In here we will create a h1 element to create our title, and another div which we will give the classname message-container. When we apply some styling, we get the following result:

Image: A chat windows created with Svelte components
Chat bubble
Let's continue on the frontend by creating a subcomponent, which we will call a message bubble (bubble.svelte). Use the script tag to expose a message prop. Create a p element containing the user that is available on the message object, and the timestamp converted to the local datetime format. We assign the info element a class based by comparing the username of the message with the username of the current user. If these match, it's our own message and we make it a right aligned chat bubble. If not, we make it a left aligned bubble.
Before we can continue, we need to create some mockup data to test our chat bubble. Let's create a list of messages, and add these on top of the chatbox.svelte included in a script tag. We also create a field to store the username of the current user.
We further update the chatbox.svelte file by using our newly created bubble.svelte file. We want to render this component for every element in the 'messages' list. While doing so, we also provide the message and user object as props to the component.
By combining all these changes, we get the following result:

Image: A chat windows created with Svelte components
Looking great so far! We are able to render the message, the user and the timestamp in an interactive chat window. Based on which user we specified in code, we can determine which chat bubbles are ours.
Control panel
Let's finish our chatbox by adding a control panel (controls.svelte). As props to this subcomponent we define a user, a send function and a message. We group everything together in a div with classname controls. The first p element contains a input field that is bound to the 'user' variable. The textarea below is bound to the message variable. Our button contains an on:click event that fires the send method that is provided by the top level chatbox component.
A few more things are needed back in our chatbox.svelte component to integrate the controls:
First let's add an import statement for our controls component. We also need a variable (messageContainer) to bind to the message-container div. We define a send function, which adds the current message to the array of messages. We do include a few checks to only send the message when both a username and message is provided.
Note
Svelte only re-renders it's components when the variable is changed. This means that when we have a component that uses an array, adding or removing an element from the list will not trigger a re-render. We can solve this be reassigning the variable storing the list to itself: messages = messages;
To improve the user experience, the chatbox will scroll to the bottom when a new message is added. We can achieve this by triggering our custom 'scrollToBottom' function whenever the afterUpdate hook fires.
Finish things of by including the Controls component in our chatbox div, while binding it to the message, user and send props.
This gives us the following result, as showed at the start of the article:
Image: A chat windows created with Svelte components